Soma ’Saga’ Touring Bike.
Every once in a while, we have someone enter the store that has been bitten by the touring bug. The urge to travel and explore uncharted territory. To follow in the footsteps of Magellan, Polo, Cook and the like or, as in this case, to put a tick on the bucket list by touring the US for a couple of months.

Our remit for this build was to produce a bike that was suitable for light, medium touring, therefore no real need for a tank of a frame capable of hauling around 300lbs of one’s essential chattels assorted paraphernalia. Other requirements were chiefly comfort and relaxed ride position, slightly elevated front and the option of multiple ride positions on the bars. The rider also had requirements for preferred cadence and obviously riding style. The rider, as always, was measured on a body jig and a full CAD workup produced.
Soma Fabrications of San Francisco CA produce a frame for just about any genre of riding. I think it is safe to say that we have used Soma frames on around half of all the semi custom bikes we have built. The geometry is always well thought out and, whilst not always cutting edge or pushing any envelopes, it is usually just about perfect for real world applications. The Soma ‘Saga’ frame used in this build is another example of this.
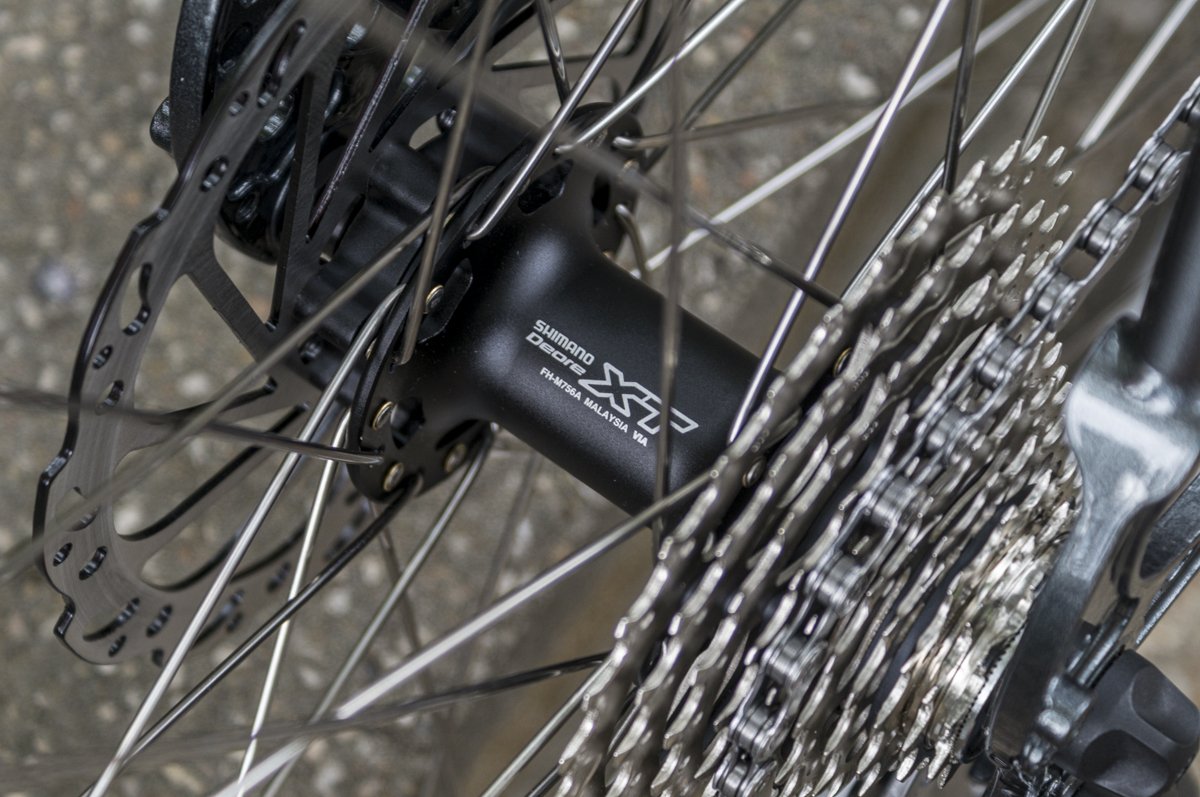
Obviously high on the priority list is always the subject of wheels. In this case we opted for traditional and strong. The Shimano XT disc hubs are hard to beat especially at the price point. The tried and tested cup and cone bearing setup is executed perfectly by Shimano, machined cones and boron coated, I rebuilt and adjusted them to my preference, they, like others always seem to be a little on the tight side out of the box. These were then built up using straight gauge 2.0mm spokes with hub washers laced to Velocity Atlas rims, 36 hole and a 3 cross pattern, brass nipples and wheelsmith prep. The hubs are available with a standard 6 bolt disc mount or the proprietary center lock. I opted for the more standard 6 bolt mount. I do not anticipate the need for a replacement spokes obviously but if the need does arise some spares of the correct lengths are attached to the frame on the non drive side seat stay,. This is a nice feature found on some touring frames and I think it looks cool and it would be churlish not to use it.


Because of the gearing chosen for this build, we were really pushing the boundaries of what modern Shimano and Sram group-sets are happy with. Both the major group manufacturers do not really offer a touring package. It has come to a point now that mixing and building your own ratios and ring setups is becoming a bit more of a chore. Shimano, Sram and Campagnolo crank sets are very sophisticated, and the rings are matched to each other, not that these setups do not work at all when you mess with them but, they ain’t great either. In this case we wanted a front triple chain ring range of 48’ 36’ 24 and a rear 10 speed cassette of 11-32. The crankset we ended up using was a beautiful Alpine 2 from Sugino. getting weird chain wrap figures and requirements you have to think a little more outside the box.

An often-overlooked brand when it comes to shifters is Microshift. This company has been around for quite some time, producing very reasonably priced derailleurs and shifter units that we routinely use as replacements on entry level bikes when budget is an issue. However, in the last few years Microshift have been upping the game and offering components that are very usable and in fact are a great choice in certain instances. This is one of those occasions.

Another bonus of the R10 brifters is that they really work well ergonomically on the handlebars. We chose the Salsa Cowchipper bars for this project. These things are great for touring bars. When spending long hours on the bike you need to have a good selection of comfortable positions to switch through. Another requirement of a laden touring rig is stability. A good touring bar needs a bit of spread to it so as not to fatigue your arms wrestling the bikes mass.


The hoods on these things are comfy too, not Campagnolo comfy but pretty plush. The red flash doesn’t look bad either. The operation on these R10’s are a double lever system and pretty easy to get used to no matter what you are coming from. The actuation feels really solid, and you get a definite click and release through the levers. It all feels really solid and robust however it does not require much pressure on either lever to actuate.

The front derailleur, just making an appearance in the above picture is also from Microshift, it is quite happy to swing back and forth over a triple and doesn’t mind one bit it is going from a 48 to 24… The rear cassette is a standard Shimano offering and, in this case, the Shimano and Microshift rear derailleurs were evenly matched. On paper they both had chain wrap capacities lower than required, however experience has shown there is always a little wiggle room and that was the case here. A Shimano 105 GS 5701 is handling the slack chain like a champ. I was expecting it to bottom out in the 24-11 but no. I know that some of these gear combos are not ordinarily used and running the chain on the two extremes is something anyone in their right mind would not do, unfortunately pedaling a fully laden touring rig up your average Alp can affect your common sense somewhat so a fully functioning shift system capable of every eventuality is paramount.

One of the drawbacks to using the Microshift brifters is the lack of a hydraulic brake lever. I am a huge fan of hydraulic disc brakes and love the feel and power you get from them, that is not to say that cable actuated offerings are bad it is just the hydro’s are that much nicer and are to be used wherever possible in my opinion. So, in this case the option was any of the cable discs, and I would have gone with Avid BB7s, or use something a little different. What you are looking at here is a hydraulic brake caliper operated by a cable. Genius. Yokozuma have been producing these units in a couple of guises now for quite some time and they are fantastic. They have a built-in reservoir, and you can adjust the feel quite easily via the little red turn knob, by playing around with the turn knob and where you clamp the cable you can adjust the feel of the brake lever to suit your taste. The end result is a brake that has the power and most of the feel and modulation of a full hydraulic along with the self-adjusting and regulation as the pads wear down. The cable is a standard road brake, stainless steel and 1.5mm. The housing is a bit different; it is very substantial and is also produced by Yokozuma. Basically, it is a compression less housing with a full compression wrap over that. You could also use a standard brake if need be.

Another component that we have used a few times now is the Cane Creek eeSilk seat-post. These are turning into real crowd-pleasers. The elastomer can be tuned to rider weight and preference. There are a few different elastomers in the box and also a small tool that really makes changing them a breeze. We have this one setup quite plush but still firm enough so as not to give the dreaded bob whilst pedaling.

Of course, no touring bike would be complete without a Brooks saddle. Built in the same way since 1866 these things are de rigueur on all touring bikes. I think it is the law… In this instance we have chosen a B17 model in a very complimentary steel blue

So, here we have the final result. The frame accommodates any style of racks and is equipped, for now with a base 100lb rear rack. Initially the bike will be ridden with just a rear rack bag and 2 side panniers. The fork will also accept low rider racks and will probably utilize those at some point. We tend to recommend using the low riders to keep the center of gravity down on the front and using them for lightweight bulky stuff.

Another happy customer. Happy touring Alan.